Welcome to part 1 of the Twitaron series
- Getting started
- Views & Controllers
- User Accounts
- Under development…
While writing the Beer Locker tutorials many readers commented on how helpful it was to have a full walk through on creating RESTful APIs. I am going to continue this trend and start a multi part tutorial series on how to create a production ready Node web application.
Some of you may know about my latest project Favatron. It is a Node web application that integrates with Twitter to provide an automated bookmark and read later service for Twitter favorites. Using Favatron as a guide, I will take you through the entire process of creating a fully functional production ready Node web application. Some of the many parts we will touch on include authorization, user accounts, data storage, background workers, security, email, APIs, RSS, third party service integrations, and much more.
I am proud to introduce Twitatron, the web application we will be making. Twitatron will automatically monitor your Twitter account for mentions. When it finds those mentions, it will process them, store them, show them in the UI, expose them via an API endpoint and RSS feed, send an email digest, and share weekly stats with integrated social networks.
Enough talking, let’s get started!
Prerequisites
Before starting the tutorial, you will need to make sure and have Node.js and MongoDB installed.
- Install the latest version of Node. This will also automatically install npm which will be used to manage packages.
- Install and run MongoDB. If you would prefer to not install MongoDB locally, you can always sign up for a free MongoLab account and use it instead.
Initialize our Node application
First thing we need to do is create a directory for our application. I went ahead and named mine twitatron. Feel free to name yours whatever you want.
In your console, navigate into your newly create folder and run the following command:
1
| |
You will be asked a few questions in order to have npm automatically create a package.json file for you. The only one that matters at this time is the entry point. You will want to specify server.js. For reference, here is what mine looked like.
1 2 3 4 5 6 7 8 9 10 11 12 13 14 15 16 17 18 19 20 21 22 23 24 25 26 27 28 29 30 31 32 33 34 35 36 | |
Directory structure
As we progress through this tutorial series, we will be adding many directories to our application. Here is what the final structure will be.
1 2 3 4 5 6 7 8 9 | |
Don’t worry too much now about creating all those directories. We will be creating them as we progress through the tutorial.
Simple HTTP server
Now it is time to start building our application. Within the application directory, create a file named server.js. This is the main entry point for our application. It is what will be run by Node. Let’s start our application as a super simple HTTP listener that just returns back ‘Twitatron’ for all HTTP requests.
1 2 3 4 5 | |
What we are doing here is using the built in Node http module to start an HTTP server on port 3000. We then respond back to all requests with with the string ‘Twitatron!’. Start your application with the command node server.js and browse to it at http://localhost:3000.
Replace HTTP with Express
Our basic application is cool, but using the http module will get very difficult as the complexity increases. That is where Express comes in! Express is a minimal and flexible Node.js web application framework that provides a robust set of features for web and mobile applications.
We will use npm to install the Express module. Execute the following command and make sure to include the --save flag. This flag will add Express to the list of Node dependencies for your application. This is useful because in most cases you won’t add the node_modules directory to source control which means for other people that use your application, they will need to know which packages to install. This is done by executing the npm install command which will download and install any packages not in the local node_modules directory.
1
| |
You should now have Express added to the node_modules directory and the package.json file should have it added to the dependencies object as well. Here is what my package.json file now has.
1 2 3 4 5 6 7 8 9 10 11 12 13 14 | |
Now that we have Express installed, we can update our server code to use it. Replace your server.js file with the following code.
1 2 3 4 5 6 7 8 9 10 11 12 13 14 15 16 17 18 19 | |
Let’s explore what we added to our application in detail.
Require
1 2 | |
This block of code will load the Express package and allow us to use it within our application. We will be requiring more packages here as we add more complexity to our application.
Express Application
1 2 | |
The Express Application is the main component for your web application. Among other things, it is used to define routes, start listening for http connections, and perform routing for requests.
Express Router
1 2 | |
A router is an isolated instance of middleware and routes. Routers can be thought of as “mini” applications only capable of performing middleware and routing. Every express application has a builtin app router. Routers behave like middleware themselves and can be “.use()’d” by the app or in other routers.
Create Route
1 2 3 4 | |
Here we are creating a route for ‘/’ to return ‘Twitatron’. All HTTP requests made to ‘/’ will execute this portion of code and return back a string.
Register Routes and Start Server
1 2 3 4 5 | |
Finally we register our previously defined routes with the application.
The last step is to call listen on port 3000 to start listening for incoming connections and requests.
Test it out
If you did everything correctly, you should be able to start your server and make your first request. In the root folder of your application run:
1
| |
Open your browser and browse to http://localhost:3000/. You should get back a response with the word ‘Twitatron’.
Nodemon
Now is a good time to segue into some tooling that will make things much easier when developing Node applications. Nodemon is a utility that will monitor for any changes in your source and automatically restart your server.
You can install it using npm using the following command. I like to install it globally so I can use it for all projects, but you can remove the -g to install it locally instead.
1
| |
Now instead of using node server.js to run your application, you can use nodemon server.js. It will watch for any changes in your application and automatically restart your server for you.
Node Inspector
Node Inspector is a debugger interface for Node.js applications that uses the Blink Developer Tools. The really cool thing is that it works almost exactly as the Chrome Developer Tools.
Some of the things you can do with Node Inspector are:
- Navigate in your source files
- Set breakpoints (and specify trigger conditions)
- Step over, step in, step out, resume (continue)
- Inspect scopes, variables, object properties
- Hover your mouse over an expression in your source to display its value in a tooltip
- Edit variables and object properties
- Continue to location
- Break on exceptions
- Disable/enable all breakpoints
Just like Nodemon, you can install it locally or globally. Use the following command to install it globablly:
1
| |
Once it is installed, you can run it using the following command. This will start the debugger and open your browser.
1
| |
Serving static content
The final piece of this part will be adding the ability to serve static content such as HTML, images, CSS, JavaScript, etc. To do this we will need to use the Express static middleware.
Update server.js with the following code.
1 2 3 4 5 6 7 8 9 10 11 12 | |
What we have done here is register the static middleware with our Express application and told it our static content should be served from the public directory. If you didn’t already create the public directory, please do so now. You will also need to create js, img, and css as subdirectories.
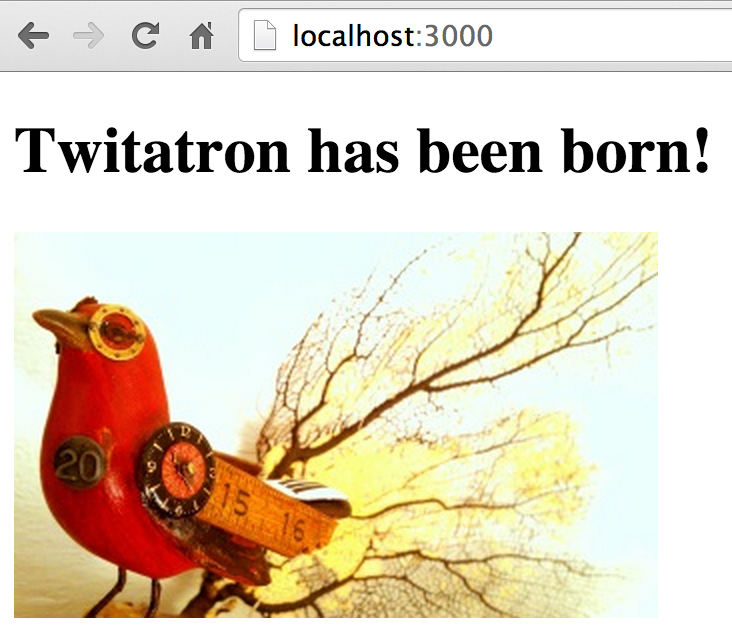
Save this image (right click and save as) to your newly created public/img directory and name it birdatron-small.jpg. Image is Creative Commons licensed by Keoni Cabral and can be found here.
In the public directory, create a file named index.html and add the following markup to it.
1 2 3 4 5 6 7 8 9 10 | |
Open up your web browser and browse to http://localhost:3000/. If everything was done correctly, you should see the following. You will notice now that our route that returned back ‘Twitatron’ is no longer getting executed. This is because the static middleware is automatically looking for index.html in the root of the public directory and returning it. If that were not there or named anything but index.html, the original route would execute.
Compress our static content
If you were to open up your DevTools and request http://localhost:3000/ you would notice the response is not being compressed with gzip. This is very inefficient yet surprisingly easy to fix. First thing we need to do is install the compression npm package.
1
| |
Once installed, we can update our server.js to use this package.
1 2 3 4 5 6 7 8 9 10 11 | |
If you were to make a request again, you wouldn’t see the response headers indicating the content has been compressed with gzip. The reason for this is that the compression package defaults the bytes threshold to 1024. Our index.html file is below that threshold so it isn’t compressed. If you want to force compression on all responses regardless of size, you can update the code like this.
1 2 3 | |
You can also control it by the number of bytes for the threshold like this.
1 2 3 | |
I would suggest leaving the defaults as is because there tends to be no gain when making the threshold too small. There are cases where your response could actually be bigger after compression.
Cache our static content
The last part of this tutorial will be caching our static content client side. This helps reduce unnecessary requests to your server and makes page load times much faster for client browsers. To do this, we will use the Express cache middleware.
If you were to examine the response headers now, you would see the following.
1
| |
This is telling the client browser to not cache the content. In order to change this, we need to update our Express static middleware in server.js.
1 2 3 4 5 6 7 | |
What we have done here is tell our Express application to set the Cache-Control header to one day using milliseconds. Here is what the response headers look like after this change.
1
| |
Wrap up
We now have the tools to create a simple, yet fully functional web application capable of serving static content that can be compressed and cached client side. This is just the beginning of a thorough and detailed tutorial series on building production ready Node web applications.
If you found this article or others useful be sure to subscribe to my RSS feed or follow me on Twitter. Also, if there are certain topics you would like me to write on, feel free to leave comments and let me know.
Source code for this part can be found here on GitHub.