Welcome to part 1 of the Beer Locker series
With an ever growing collection of beer, I am in dire need of a way to store and track my beer. What better way to do this than to create an application where I can add, remove, update, and view my beer collection. Like any motivated developer, I want my friends to be able to create their own lockers and control who has access to mine.
In this multipart series we’ll be creating a RESTful API using Node, Express, Mongoose to interact with MongoDB, Passport for authentication, OAuth2orize for OAuth support, and explore best practices and tools.
When we are done, we should have an API that allows users to authenticate, perform CRUD operations, authorize other applications via OAuth to access the API, have a solid understanding of best practices and tooling, and most important of all, a place to store our beer!
Install necessary software
- Install the latest version of Node. npm will also be installed and is used to manage packages.
- Install and run MongoDB.
Application structure
Here is a simple folder structure for the application we will build
1 2 3 4 5 6 7 | |
Go ahead and create the folder structure shown above. You won’t need to create the node_modules folder as npm will manage it for us. We will create the files as we progress through the tutorial.
Installing our Node packages with npm
npm is Node’s package manager that manages all the packages we will need for our application. For this section, we will be using:
- express (Fast, unopinionated, minimalist web framework)
There are two ways you can install packages into your application.
1. Define Node packages
We define the packages our Node application needs with the package.json file.
Create a package.json file in the root direction of your application and add the following to it:
1 2 3 4 5 6 7 | |
Tell npm to install all the packages defined within the dependencies object by running the following command from the root folder of your Node application:
1
| |
When the command has completed, npm will have pulled in all the packages into the node_modules folder.
2. Install Node packages
If you don’t know the versions of the packages you want to use, you can use this approach instead. Just like before, create a package.json file in the root of your Node application with the following:
1 2 3 4 5 6 | |
Install the packages manually using the following command:
1
| |
The --save argument tells npm to add the packages to the dependencies object within the package.json file. It should now have the following:
1 2 3 4 5 6 7 | |
Please note that the package versions may be different than listed here because of package updates since this article was written.
Create the server
Now that we have all the necessary software and packages installed, we are ready to create out initial server. What good is an API if we aren’t actually serving something?!
If you haven’t already created the server.js file, create it now in the root of your Node application.
Add the following code to your server.js file. We will cover it in detail in a moment.
1 2 3 4 5 6 7 8 9 10 11 12 13 14 15 16 17 18 19 20 21 22 23 24 | |
Require
1 2 | |
This block of code will load the Express package and allow us to use it within our application. We will be requiring more packages here as we add more complexity to our application.
Express Application
1 2 | |
The Express Application is the main component for your web application. Among other things, it is used to define routes, start listening for http connections, and perform routing for requests.
Express Router
1 2 | |
A router is an isolated instance of middleware and routes. Routers can be thought of as “mini” applications only capable of performing middleware and routing. Every express application has a builtin app router. Routers behave like middleware themselves and can be “.use()’d” by the app or in other routers.
Create Route
1 2 3 4 5 | |
Here we are creating a route for ‘/’ to return a JSON object with message set to a constant string.
Register Routes and Start Server
1 2 3 4 5 | |
Finally we register our previously defined routes with the application using the prefix ‘/api’. This means that all defined routes will be prefixed with ‘/api’.
The last step is to call listen on our port to start listening for incoming connections and requests.
Test it out
If you did everything correctly, you should be able to start your server and make your first request. In the root folder of your application run:
1
| |
You should see the console output ‘Insert beer on port 3000’. Open your browser and browse to http://localhost:3000/api. You should get back the message you defined in your route.
Nodemon
Now is a good time to seque into some tooling that will make things much easier when developing Node applications. Nodemon is a utility that will monitor for any changes in your source and automatically restart your server.
You can install it using npm using the following command. I like to install it globally so I can use it for all projects, but you can remove the -g to install it locally instead.
1
| |
Now instead of using node server.js to run your application, you can use nodemon server.js. It will watch for any changes in your application and automatically restart your server for you.
Node Inspector
Node Inspector is a debugger interface for Node.js applications that uses the Blink Developer Tools. The really cool thing is that it works almost exactly as the Chrome Developer Tools.
Some of the things you can do with Node Inspector are:
- Navigate in your source files
- Set breakpoints (and specify trigger conditions)
- Step over, step in, step out, resume (continue)
- Inspect scopes, variables, object properties
- Hover your mouse over an expression in your source to display its value in a tooltip
- Edit variables and object properties
- Continue to location
- Break on exceptions
- Disable/enable all breakpoints
Just like Nodemon, you can install it locally or globally. Use the following command to install it globablly:
1
| |
Once it is installed, you can run it using the following command. This will start the debugger and open your browser.
1
| |
Postman
Postman is a powerful HTTP client to help test web services easily and efficiently. It lets you craft simple as well as complex HTTP requests quickly. It also saves requests for future use so that you never have to repeat your keystrokes ever again. Postman is designed to save you and your team tons of time.
Here is the application when you first start it
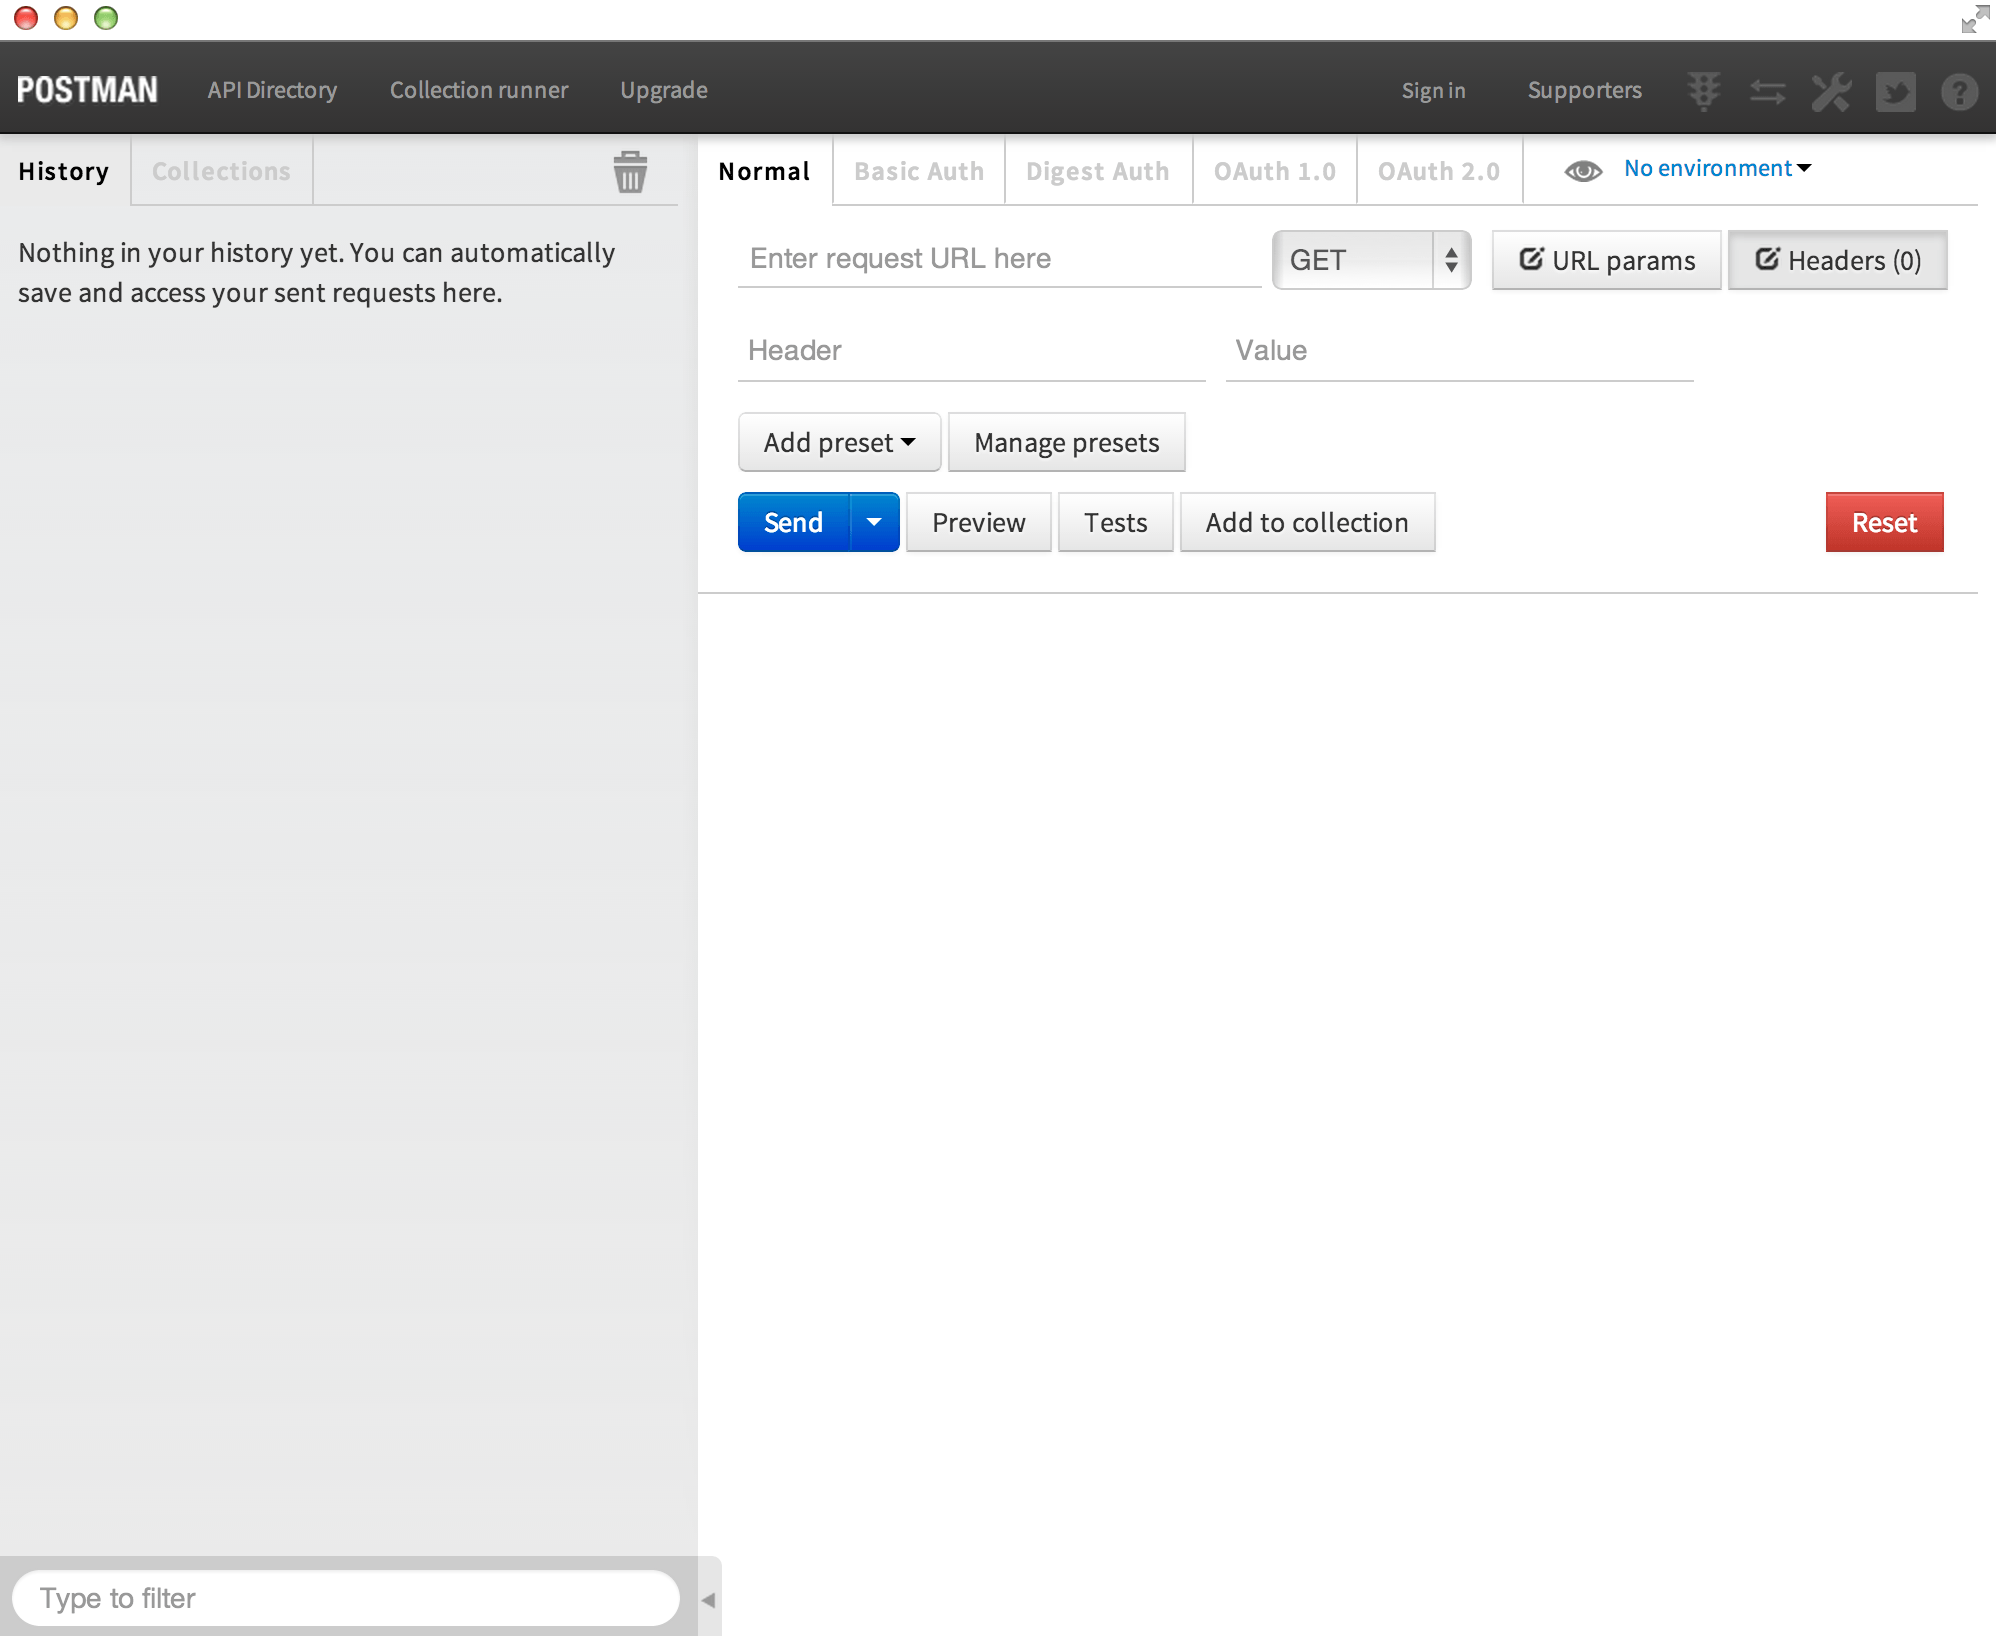
Let’s go ahead and test our application using Postman. Make sure your application is still running.
All we have to do is enter our URL in the input field where it says, “Enter request URL here”. Type in ‘http://localhost:3000/api’ and press Send.
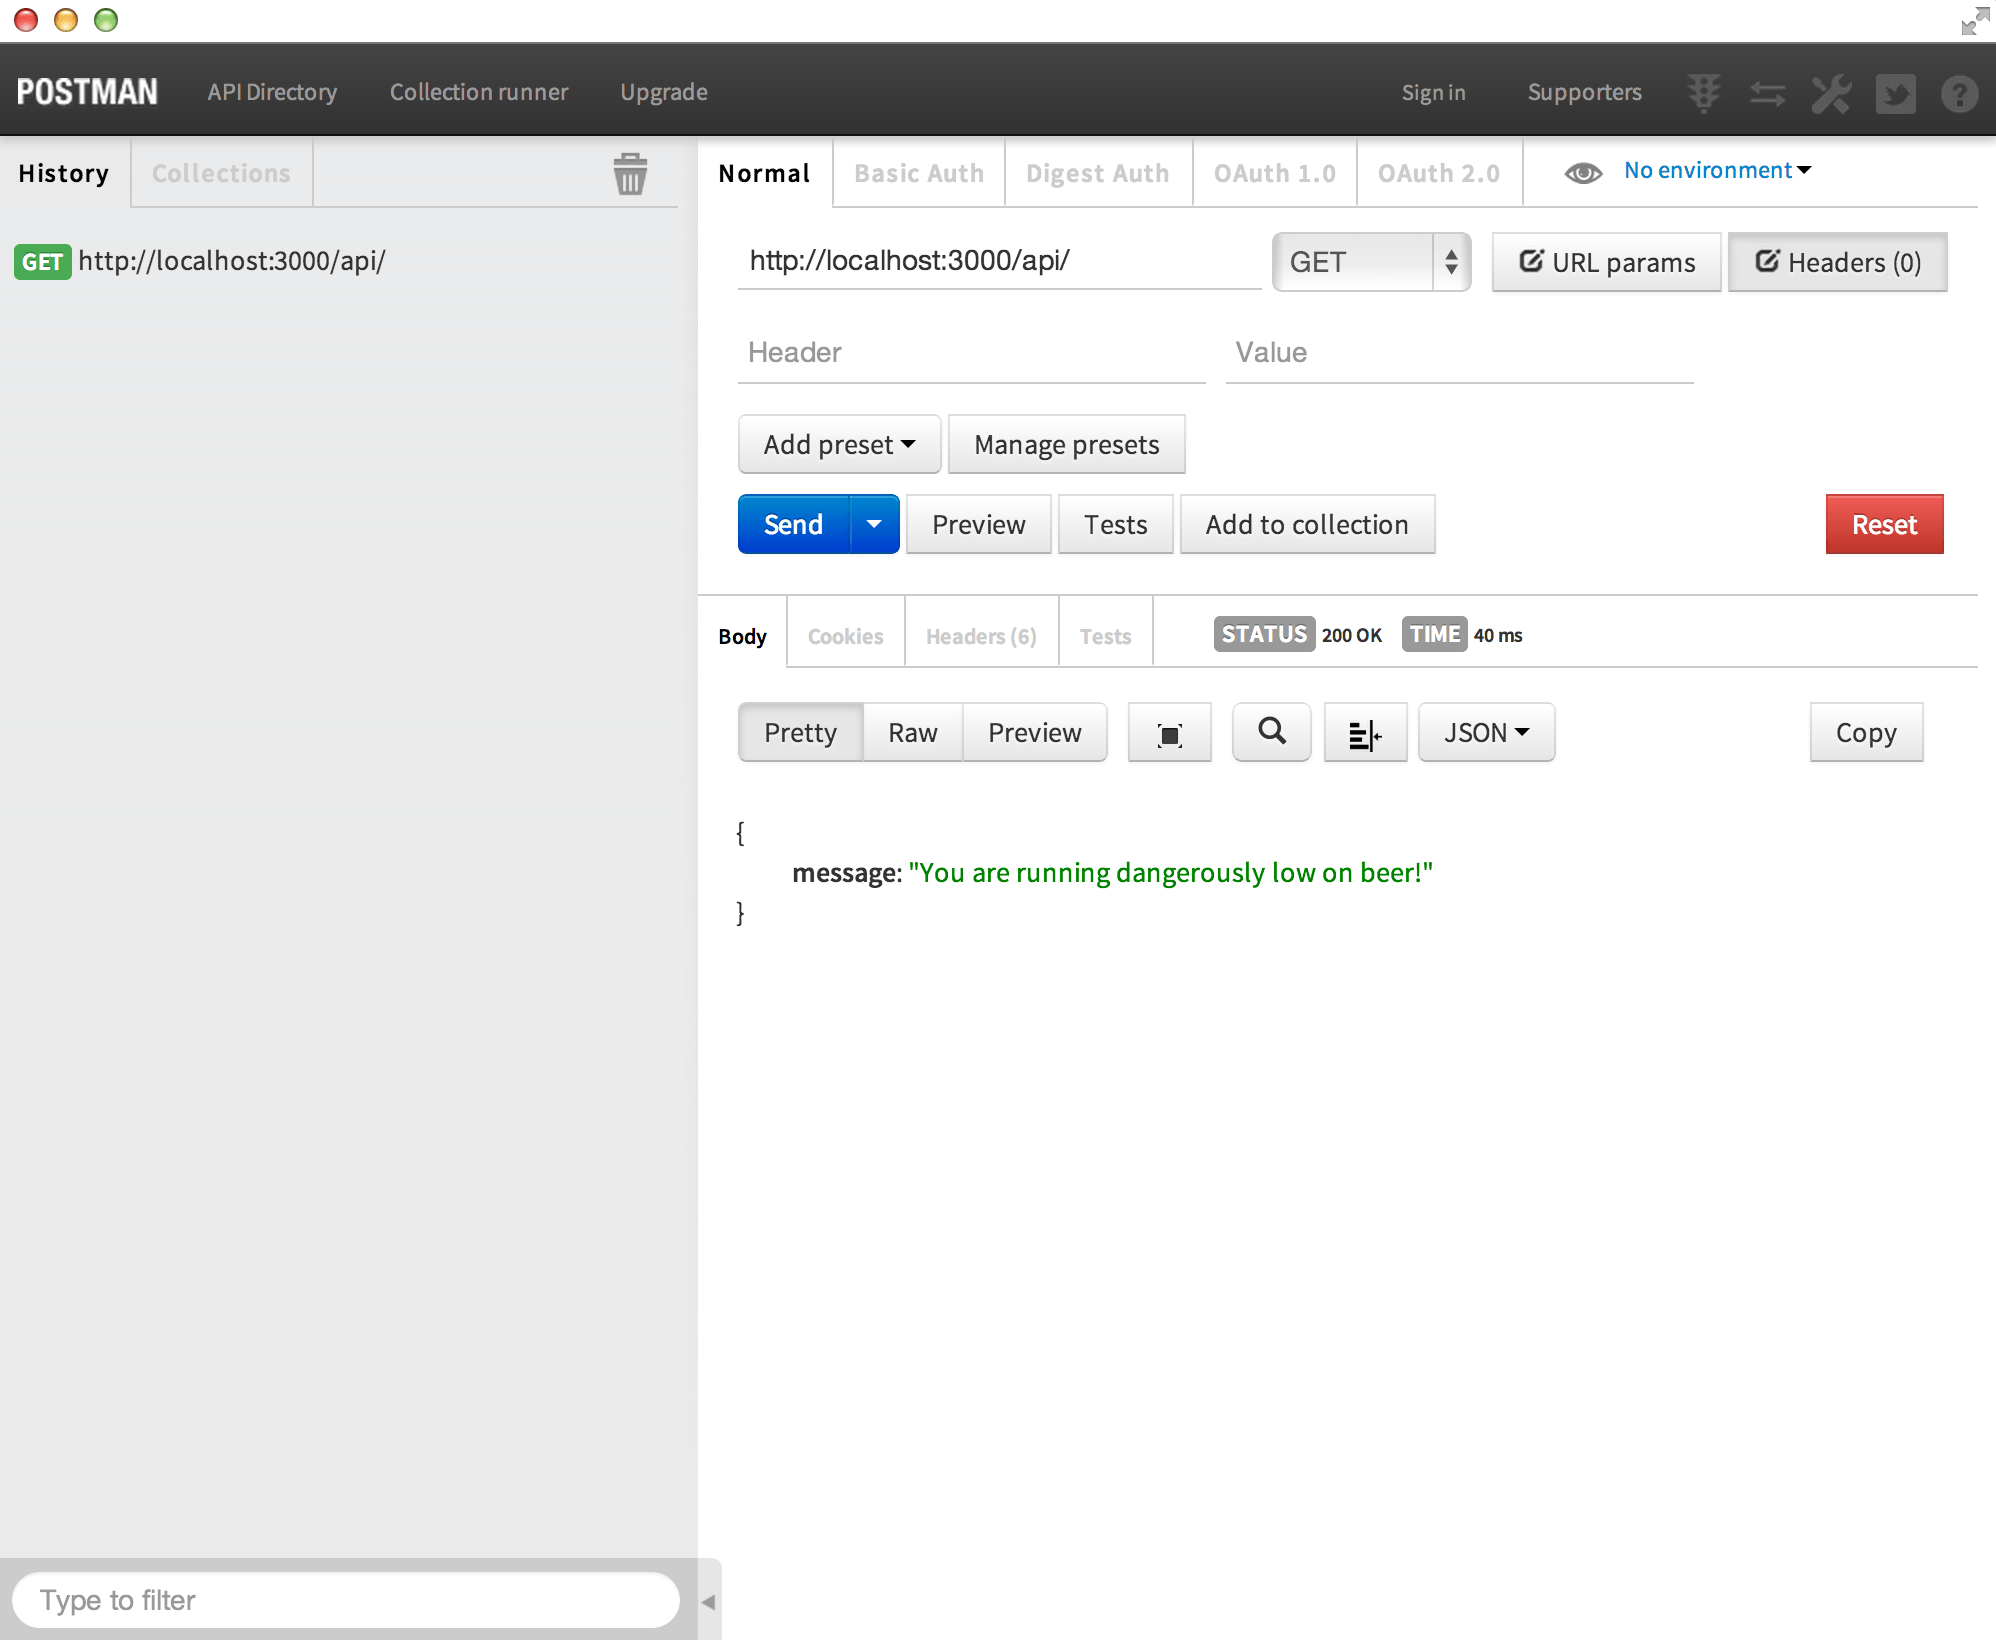
And Postman is now calling our API but we have a serious problem. We are dangerously low on beer. We will remedy that in the next part where we will add the ability to create, view, update, and remove beer from our locker.
Source code for this part can be found here on GitHub.