Ever heard of Stripe? Stripe makes it dead simple for developers to add payment processing and management to their applications through a set of tools and APIs. Now, imagine the speed and simplicity of Stripe’s payment integration for real time search. That is where Algolia comes in. Algolia does for search what Stripe does for payments.
Algolia is a service that provides APIs and tools for developers to facilitate and simplify the process of adding real time search to mobile and web applications.
A few of the features provided by Algolia are:
- Real time database search
- Get up and running in minutes
- Client side integrations
- Server side integrations
- Expert help to build the perfect configuration
Enough spouting about how great it is, let’s start using it!
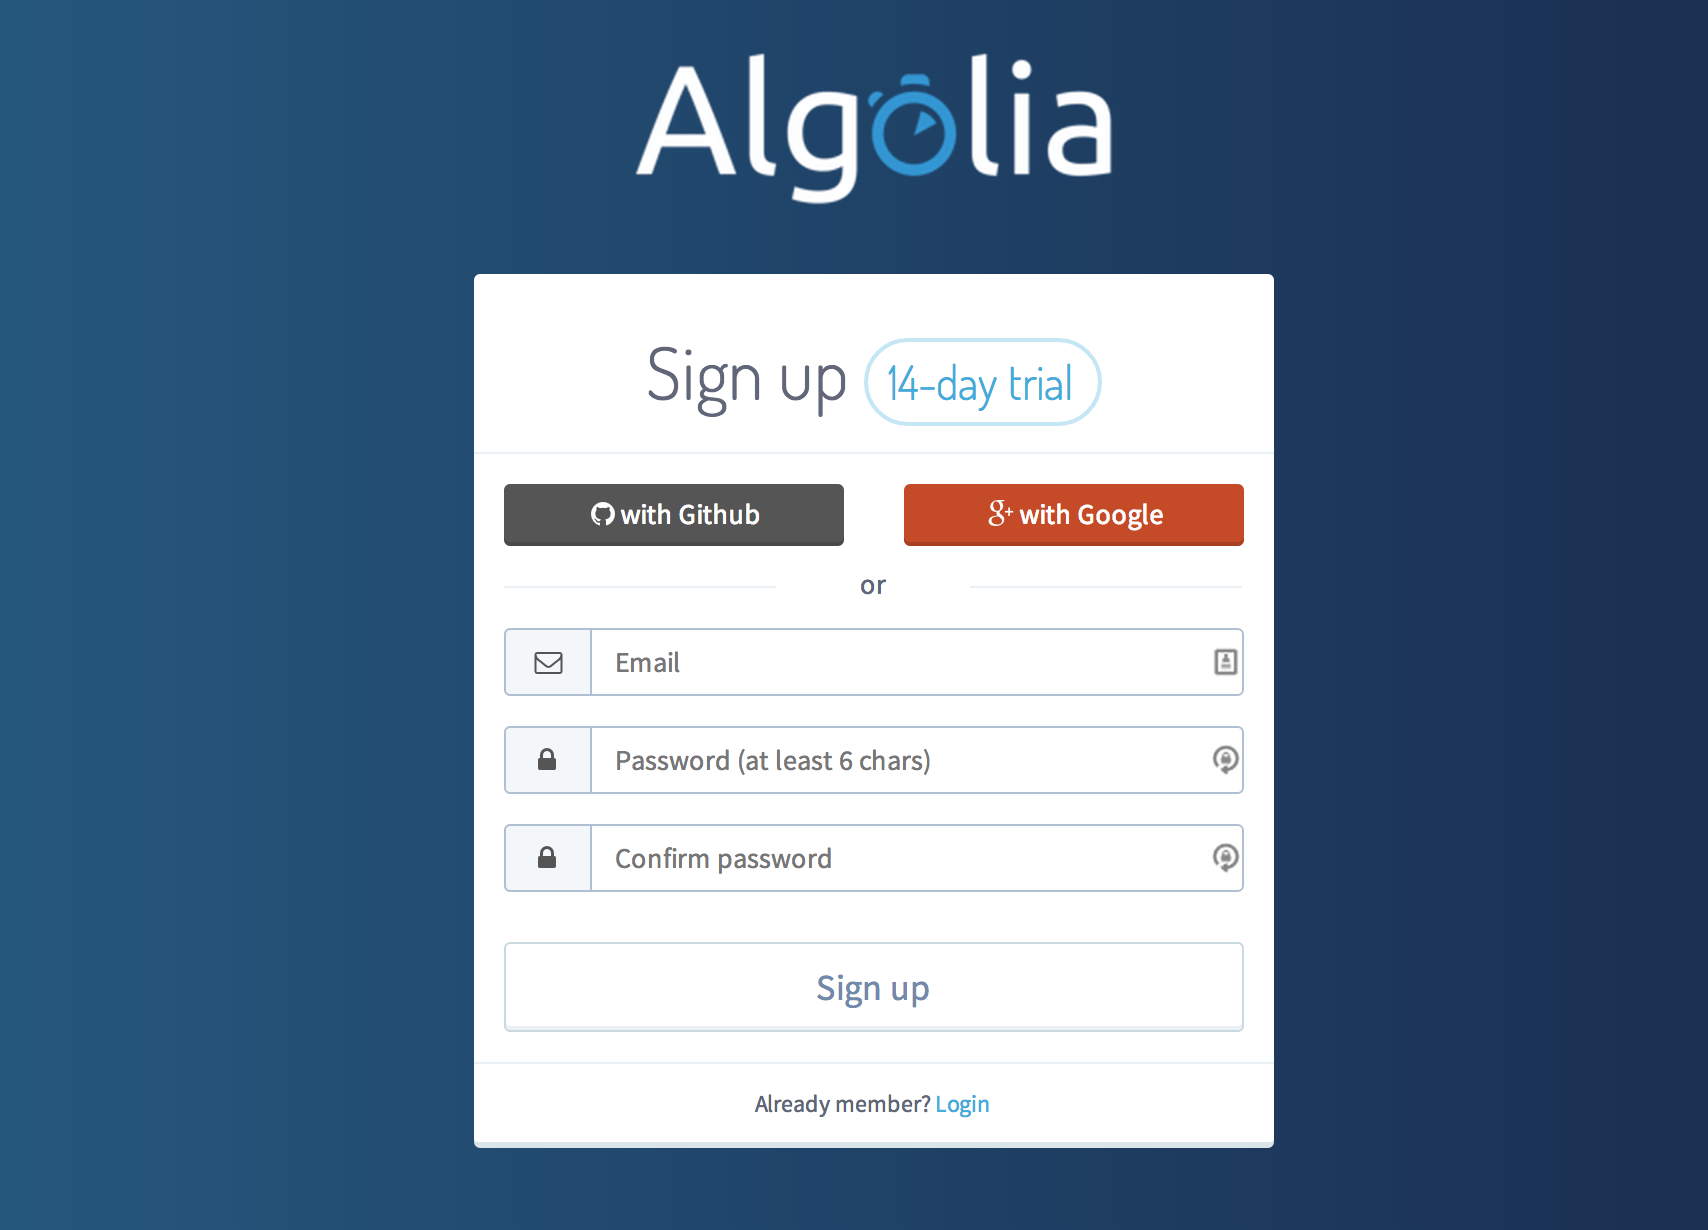
Creating an account
The first thing we need to do is create an account. You will be able to sign up and try out their service using the free Hacker Plan.
After you create your account, you will be asked to choose the location of your data center. This is an important step as it will determine performance and latency. As of writing this article it is not possible to change the location of your data center so you will want to choose wisely. The team has informed me this will be possible in the future along with multiple locations. The best advice now is to pick a data center closest to your servers.
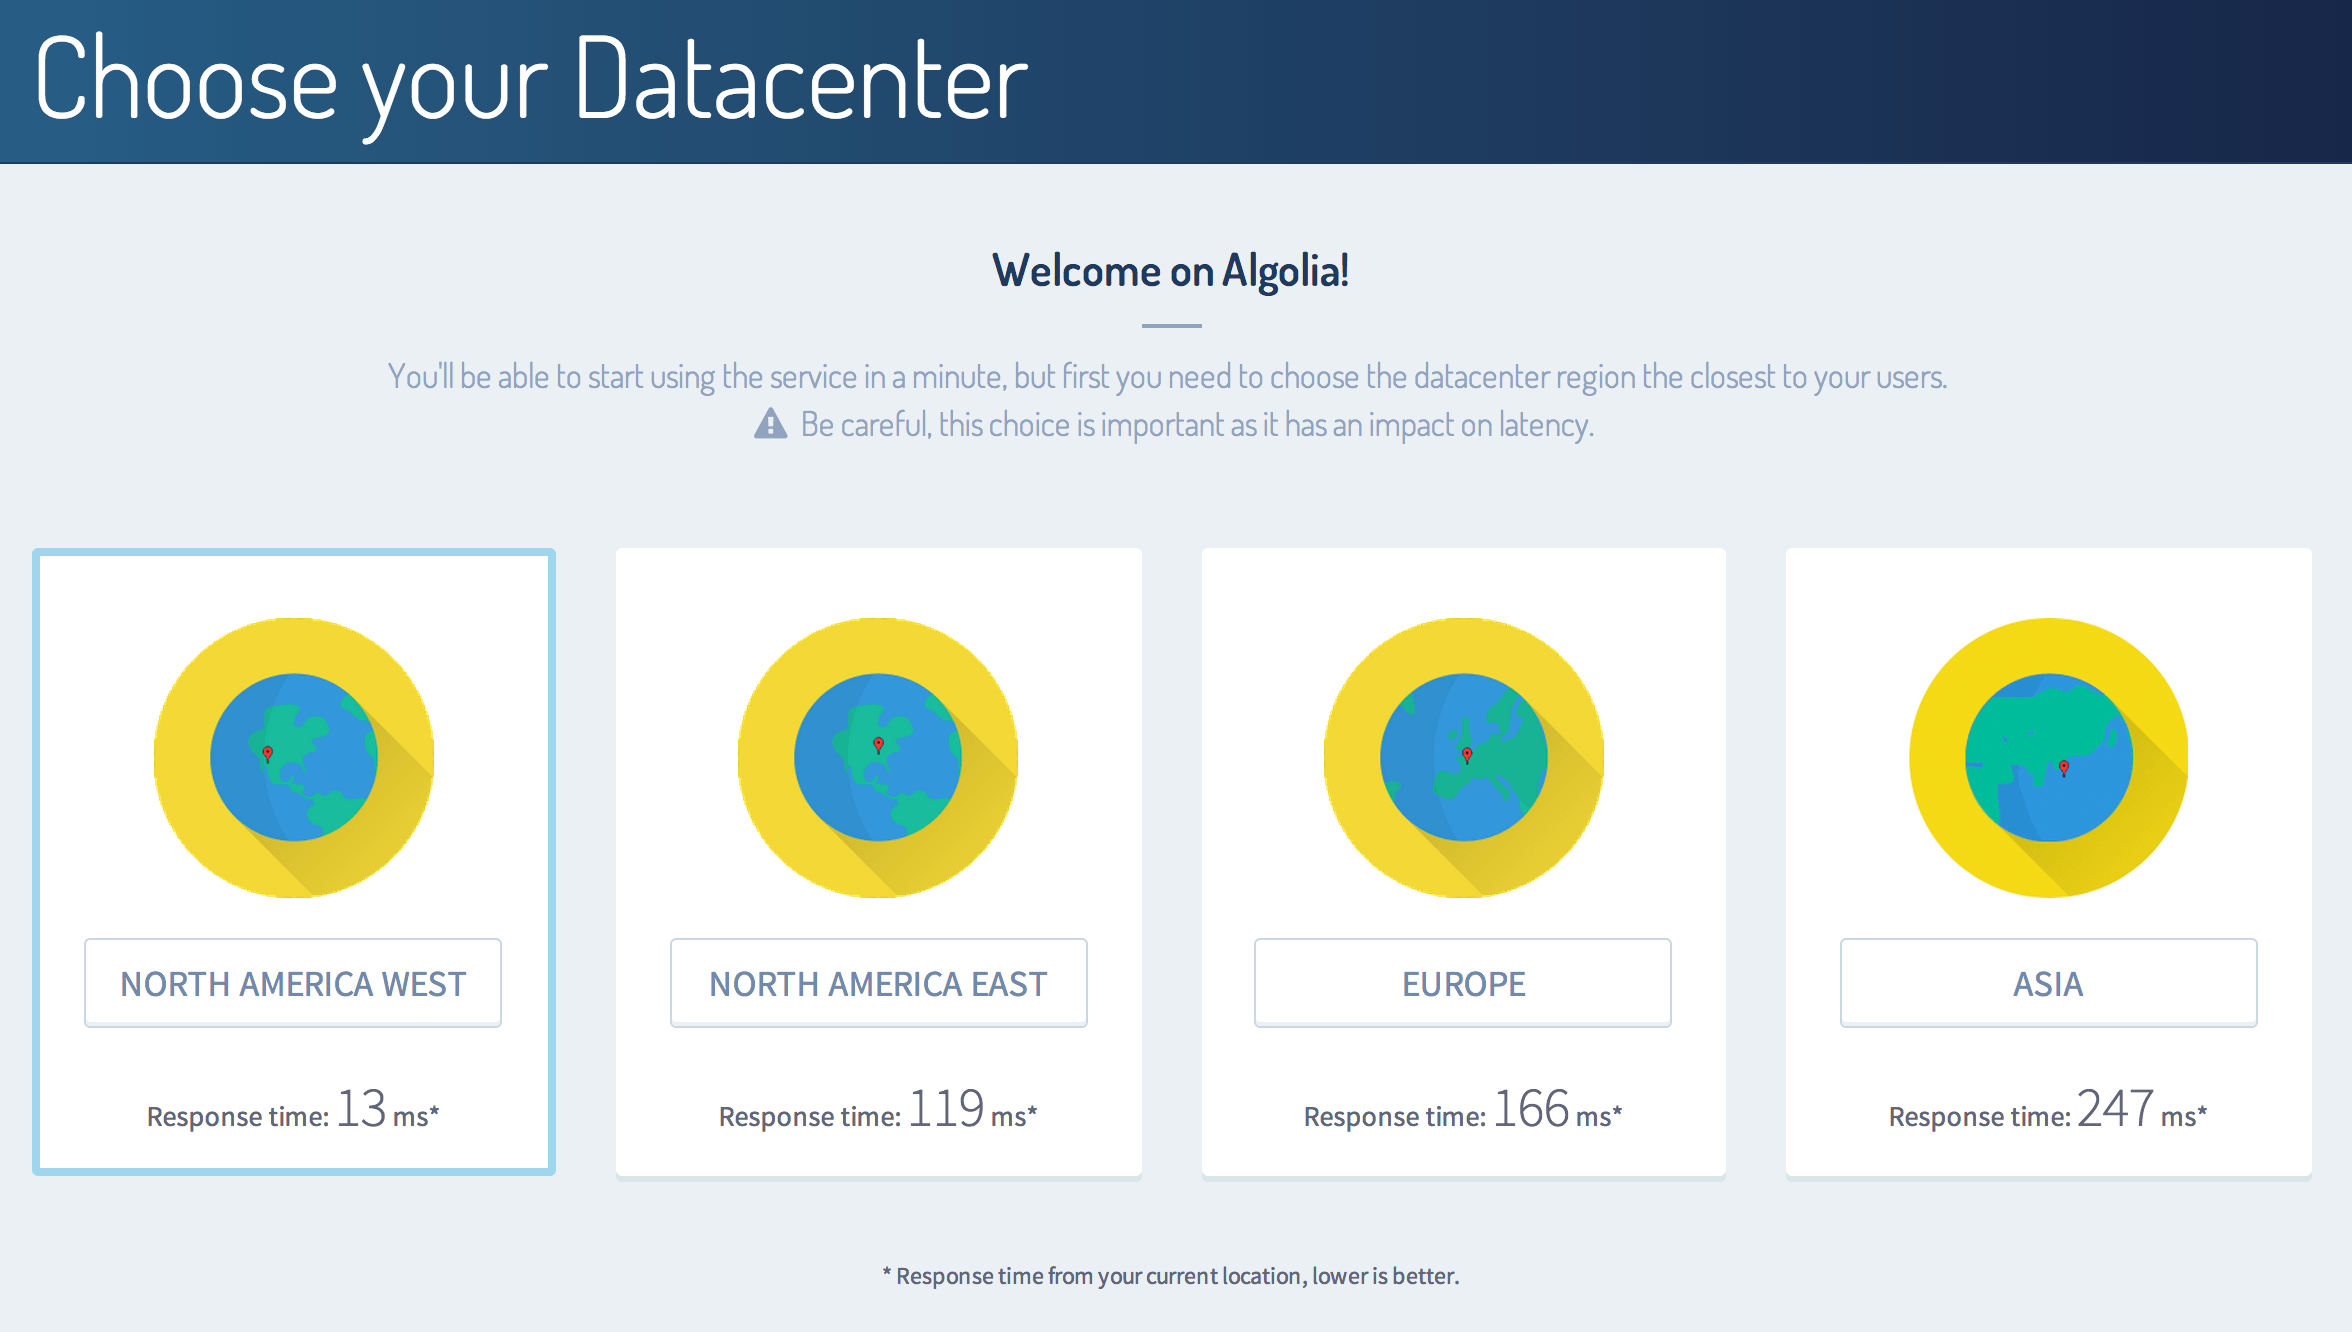
After you pick the best data center, in my case North America West, you will be presented with a page to create your first data index.
Creating your first index
Indexes are entities within Algolia that allow you to define the attributes you want be be searched, the rank/order of those attributes, how to display that data, and much more.
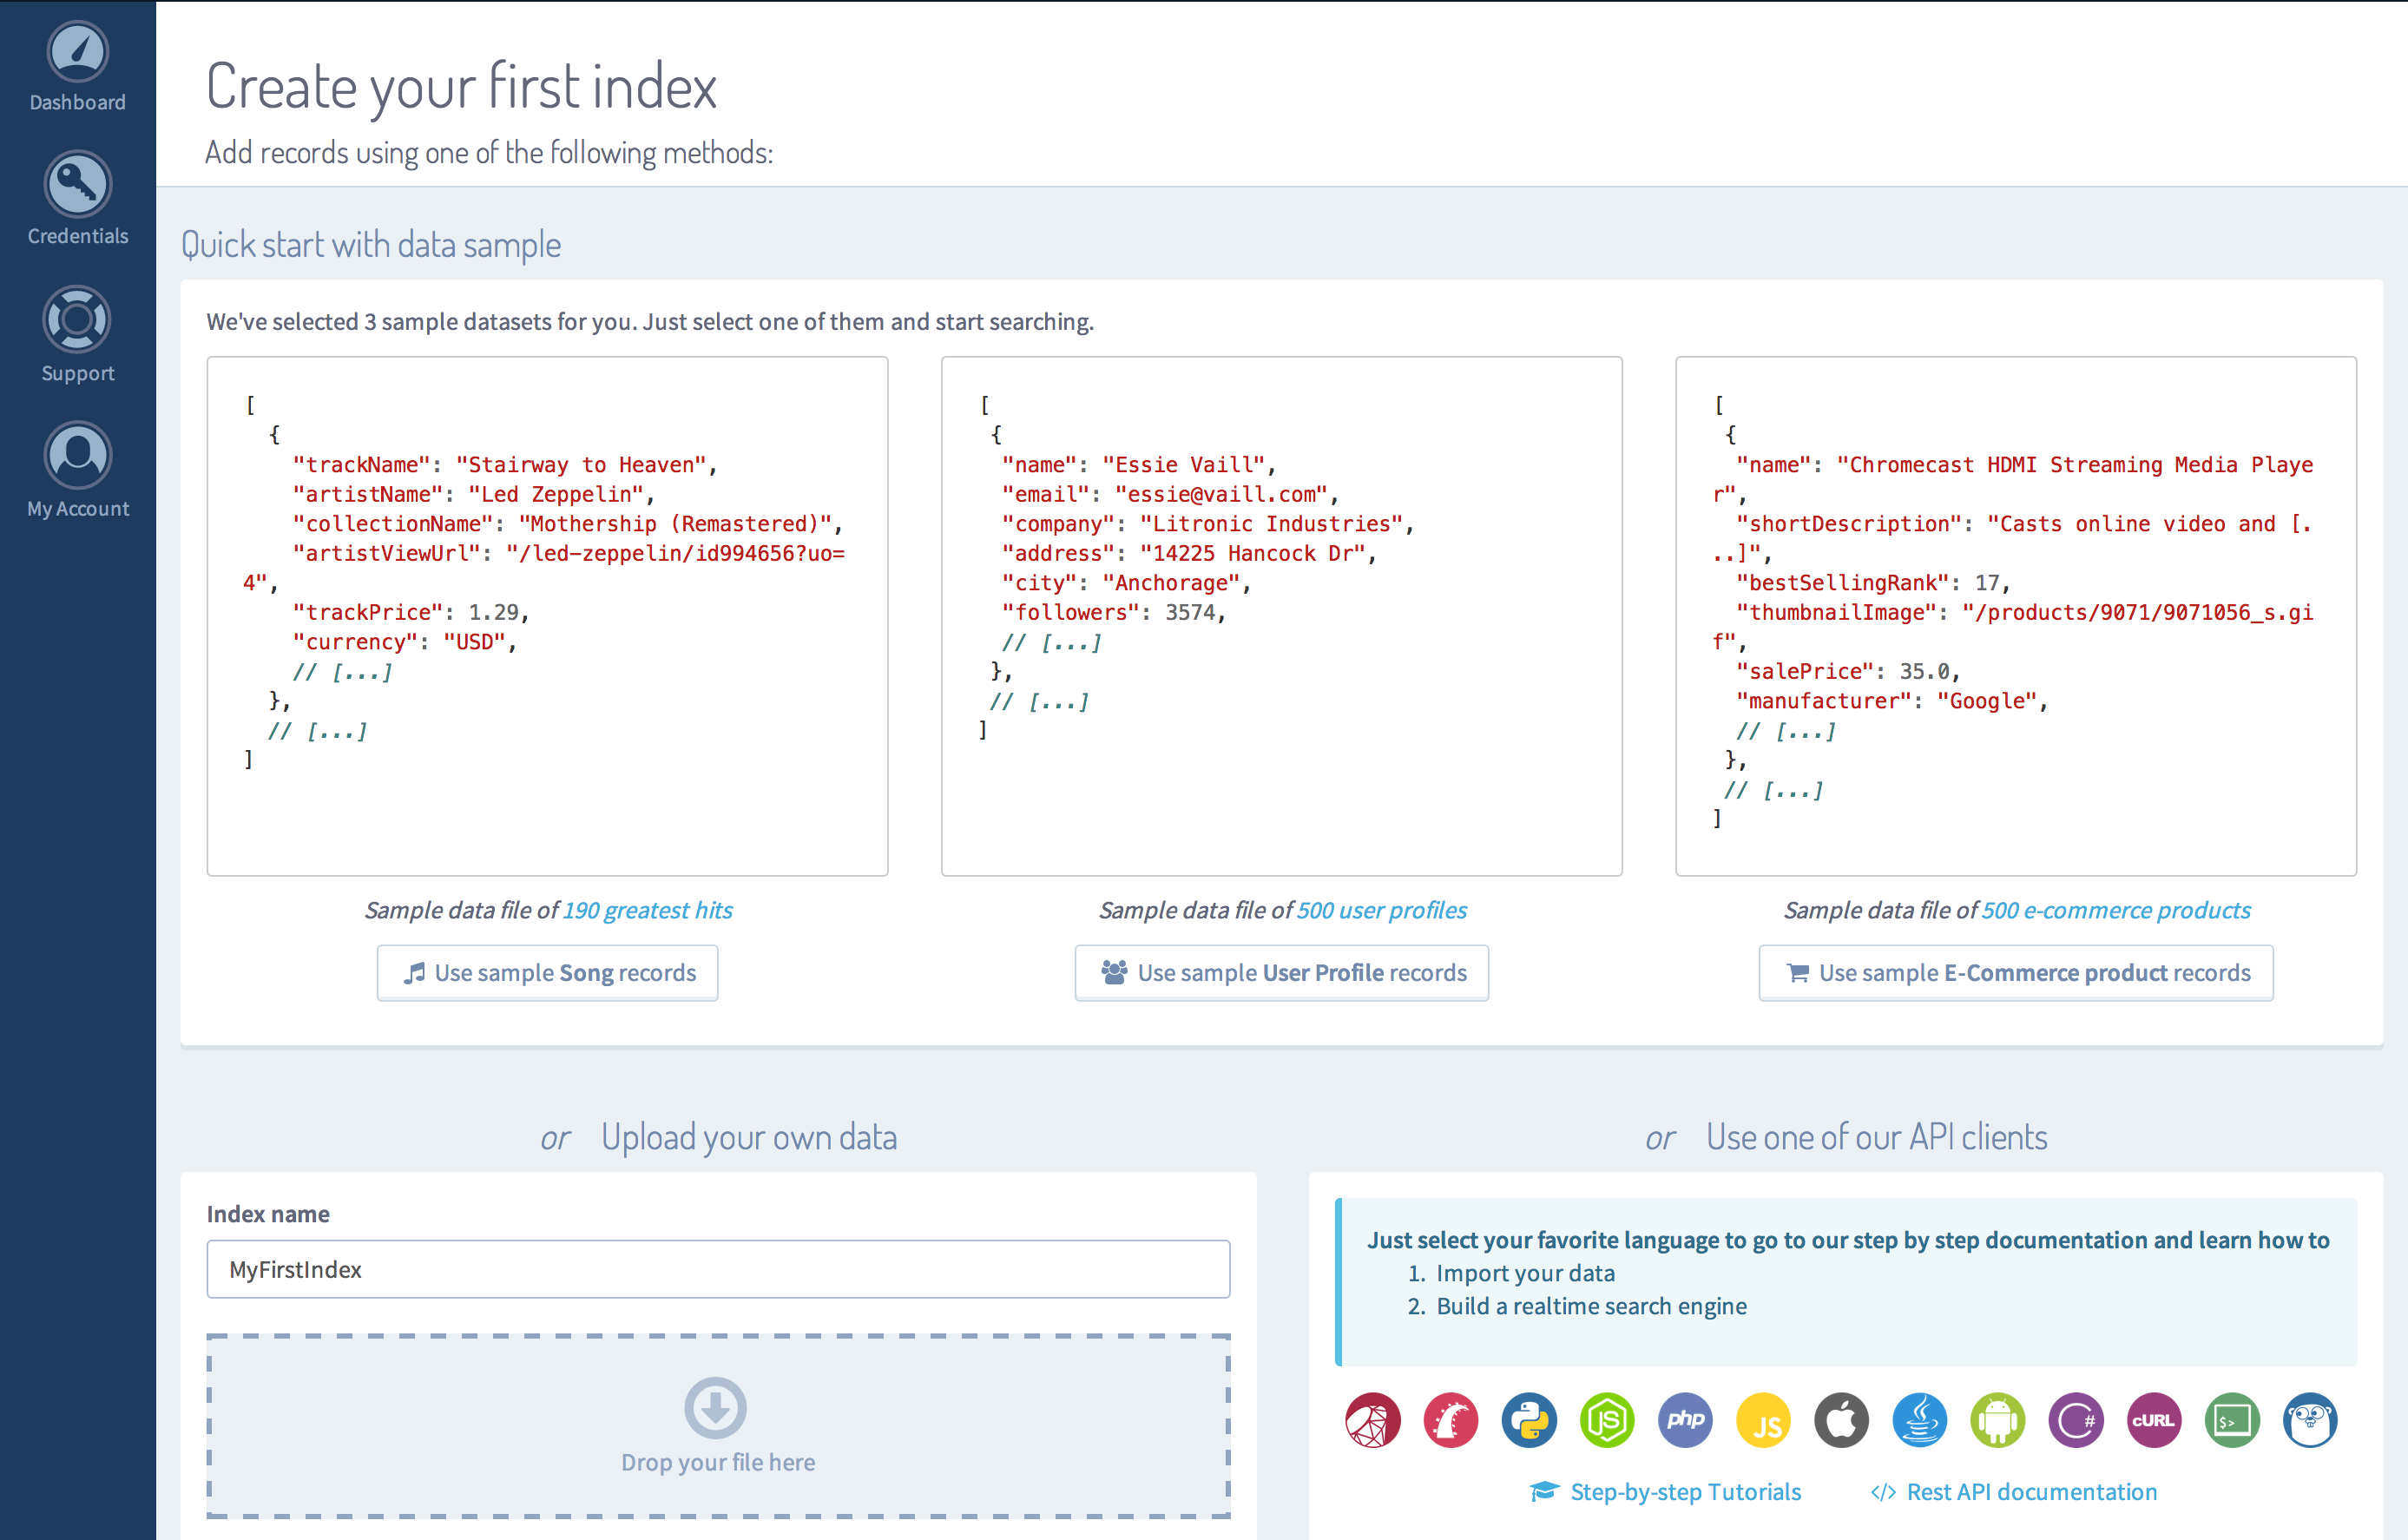
You have three options for creating your first index.
- Quick start with sample data
- Upload your own data via the web application
- Use of the API clients to get started
For this tutorial we will use the sample data option. Go ahead and pick the middle option: User Profile. You will see a loading screen as your data is being imported. Once it is done, you should see something similar to this. You are now ready to make your first search.
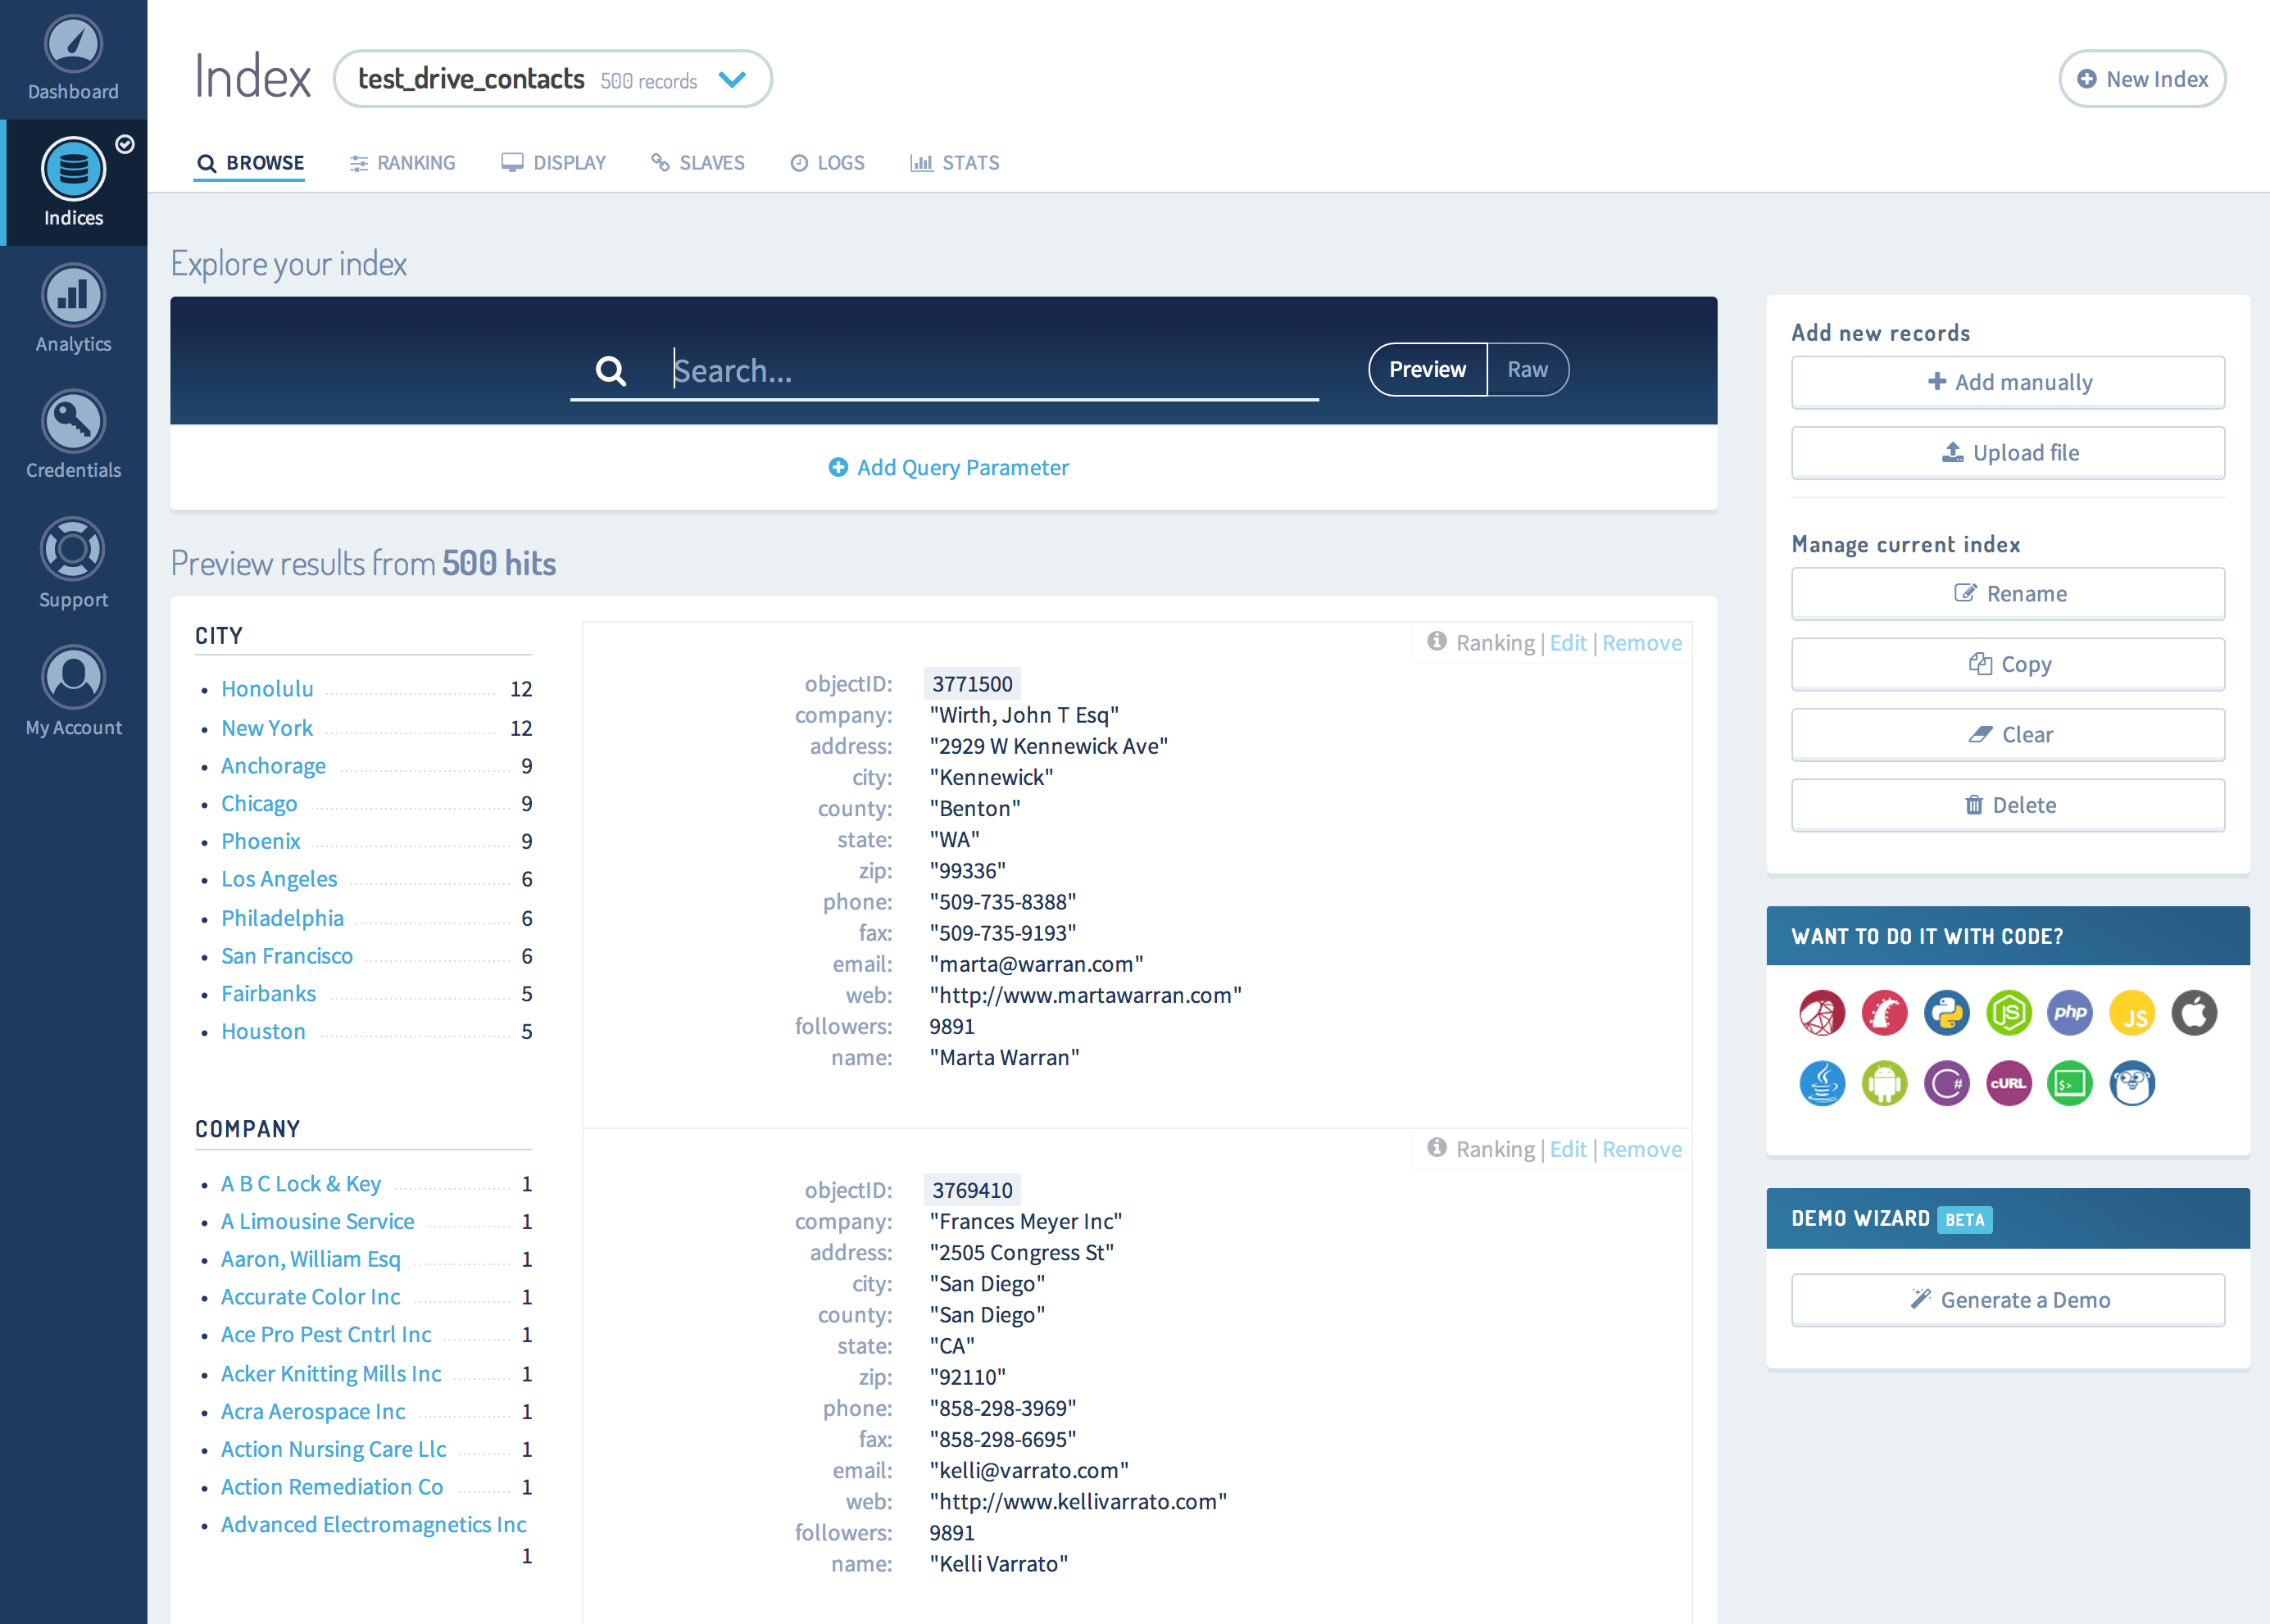
Algolia provides a very nice interface here that allows you to explore and search your newly created index. In the section titled “Explore your index”, you can enter search terms and see your results instantly below. Here is what it looks like when searching for the name “Kevin”.
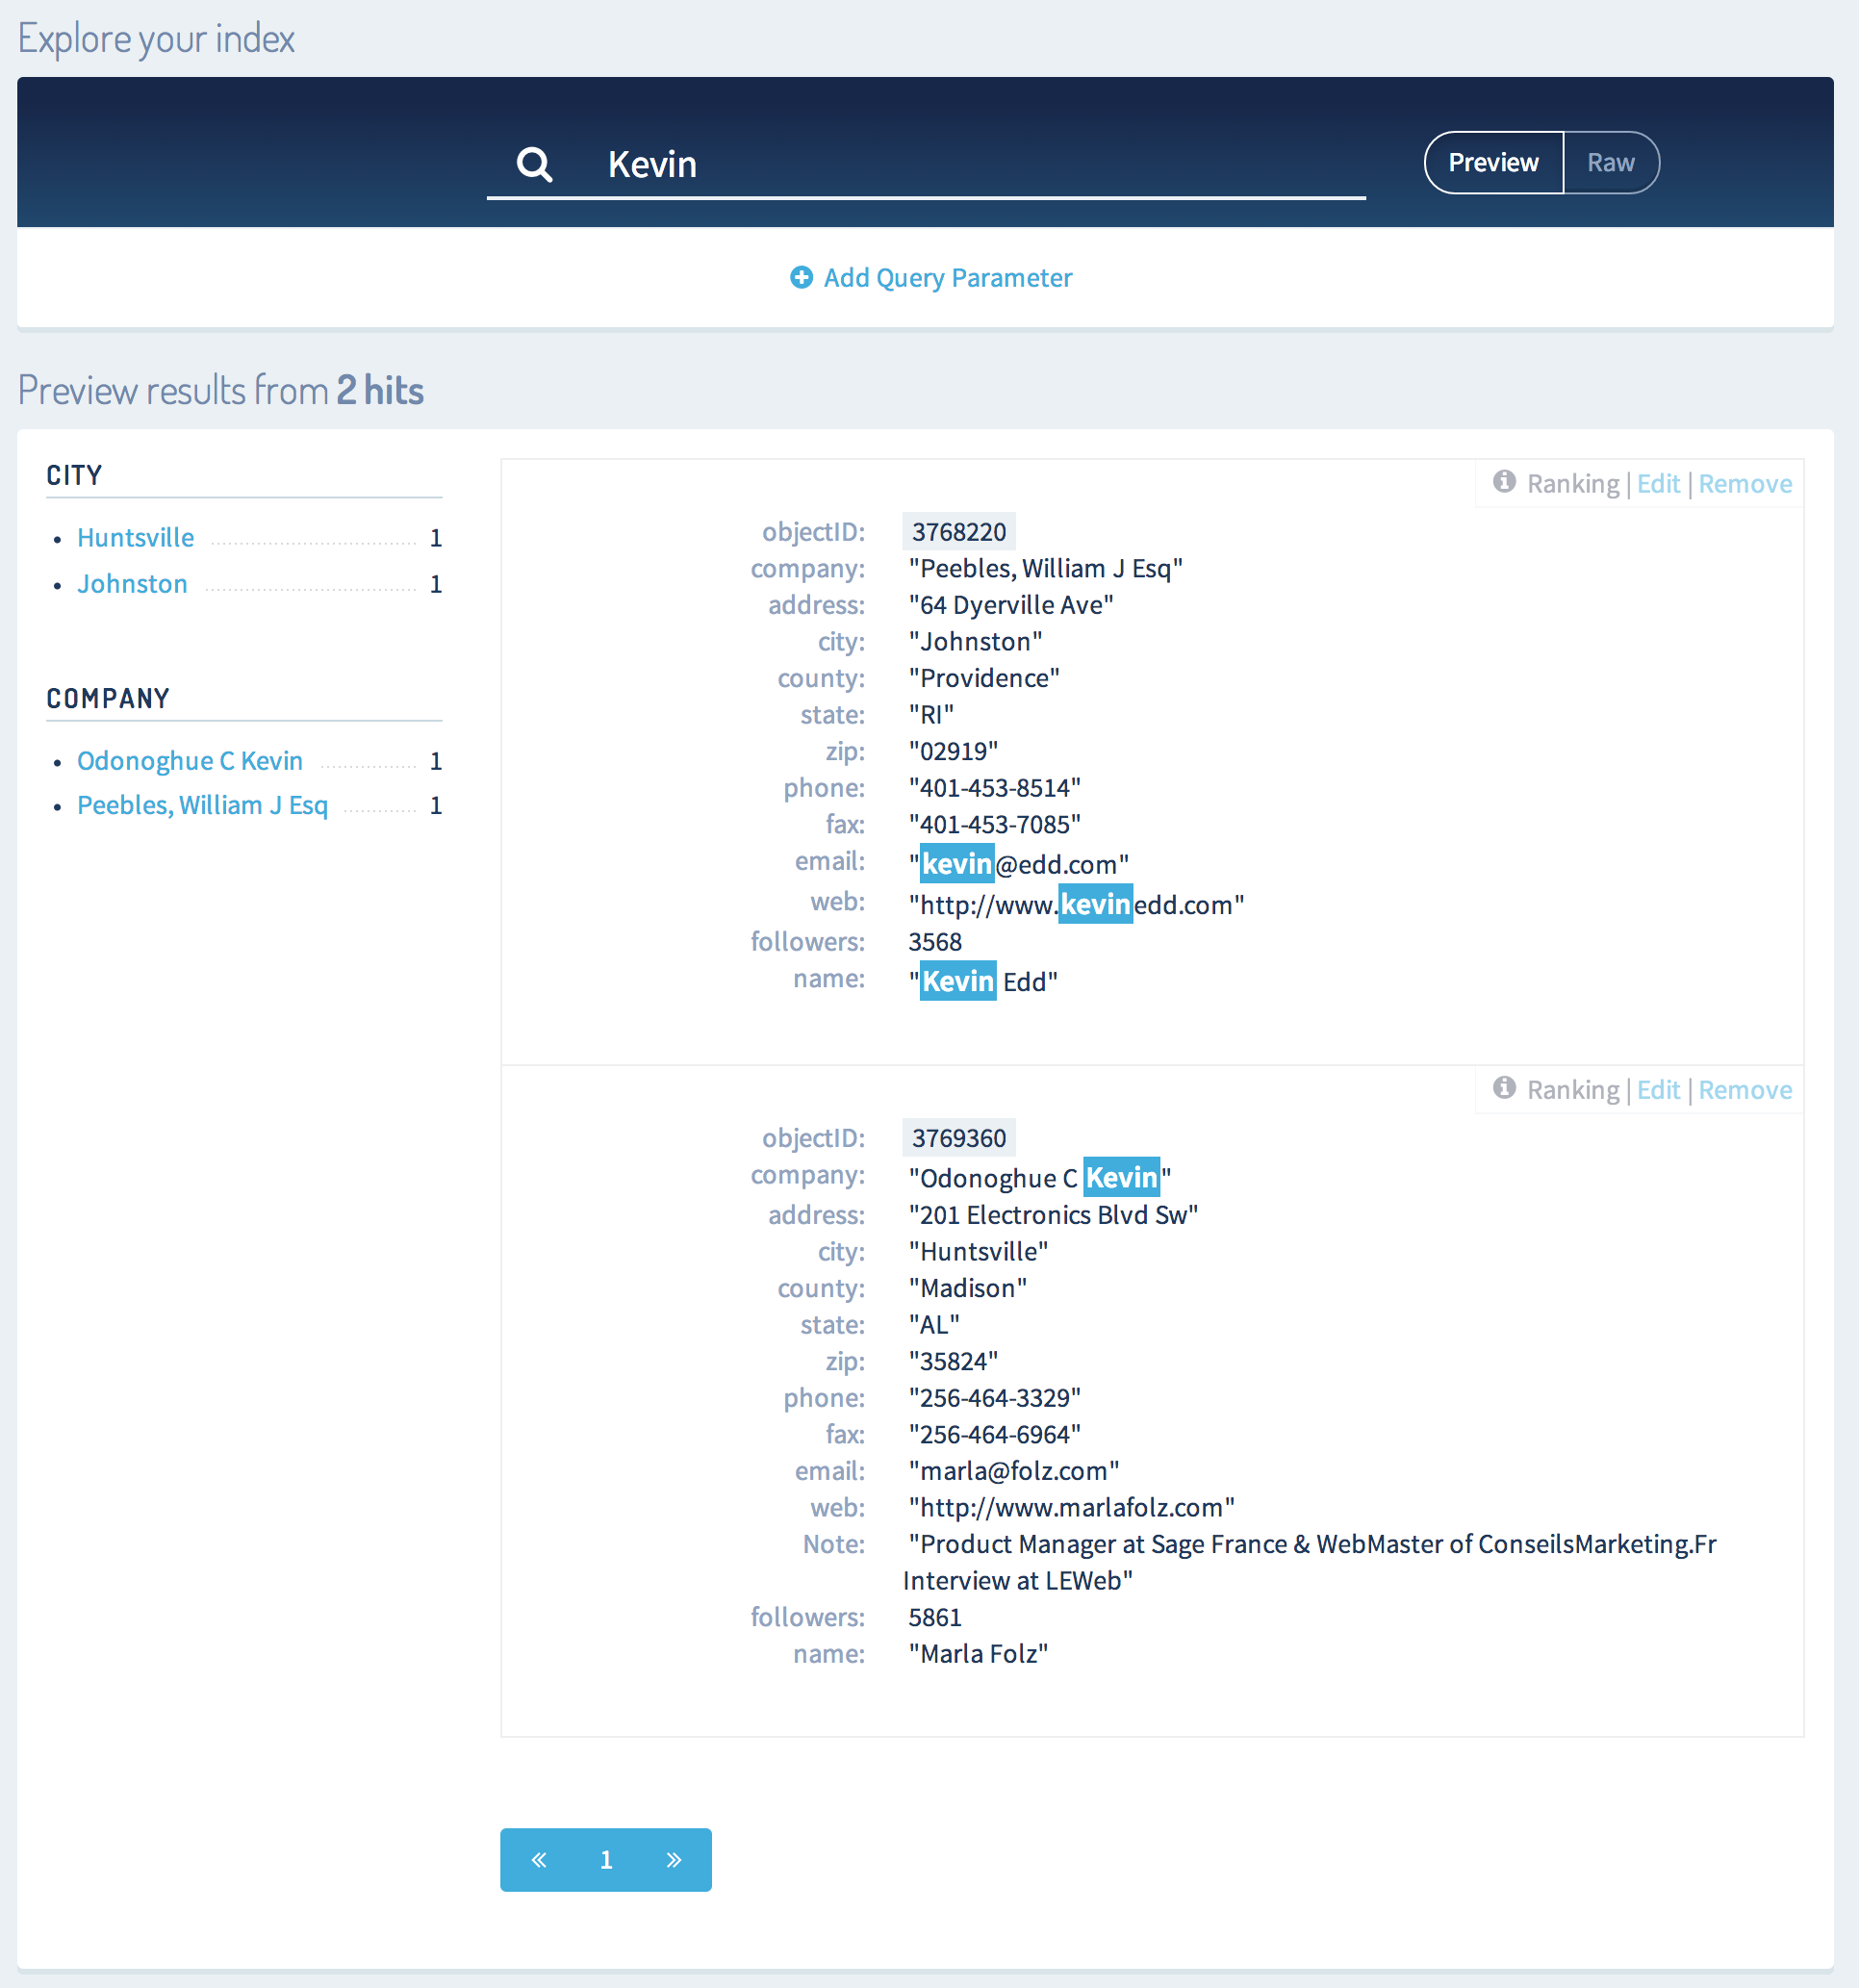
You also have the option to view the data as raw JSON along with specifying numerous query parameters to control the search.
Adding real time to search to a web app
Let’s explore now how to integrate Algolia into a web application in order to provide real time search.
We will first create our HTML file for the web application. In order to keep this article simple to follow, I will not be placing CSS or JavaScript in separate files. Go ahead and create an index.html file with the following content.
1 2 3 4 5 6 7 8 9 10 11 12 13 14 15 16 17 18 19 20 21 22 23 24 25 26 27 28 29 30 31 32 33 34 35 36 37 | |
What we have here is a very simple page with an input box that will allow us to search our data indexed with Algolia. We are including jQuery to simplify the code and the latest Algolia client side script to facilitate our integration.
The next thing we will do is add code to make queries to Algolia as a user enters search terms. Update your index.html file with the following code within the <script> tags by replacing the //TODO.
1 2 3 4 5 6 7 8 9 10 11 12 13 14 15 16 17 18 19 20 21 22 | |
There are 3 items in the code we just added that need to be configured for your account. You can find your APPLICATION ID and SEARCH-ONLY API KEY on the Credentials page of your account. Once you find them, update <APPLICATION ID> and <SEARCH-ONLY API KEY> with the values from your account. The final value needing to be updated is INDEX NAME. You can find the name of your index on the Indices page. Mine is called test_drive_contacts. Once you find yours, update <INDEX NAME> with it.
There are a few things going on here in the code we just added. First, we are setting up a function to handle our callback from performing an Agolia search. We will return to this function in a bit and add functionality to it. For now, we will just log the JSON response to the console. Next, once the document is ready, we create an Algolia Search object with our API credentials. We then initialize our index with our Algolia Search object using the index name from our account.
Finally, we hook into the keyup event on our input field in order to fire off a search on our Algolia Index object. When this call completes, it will call the searchCallback function we defined.
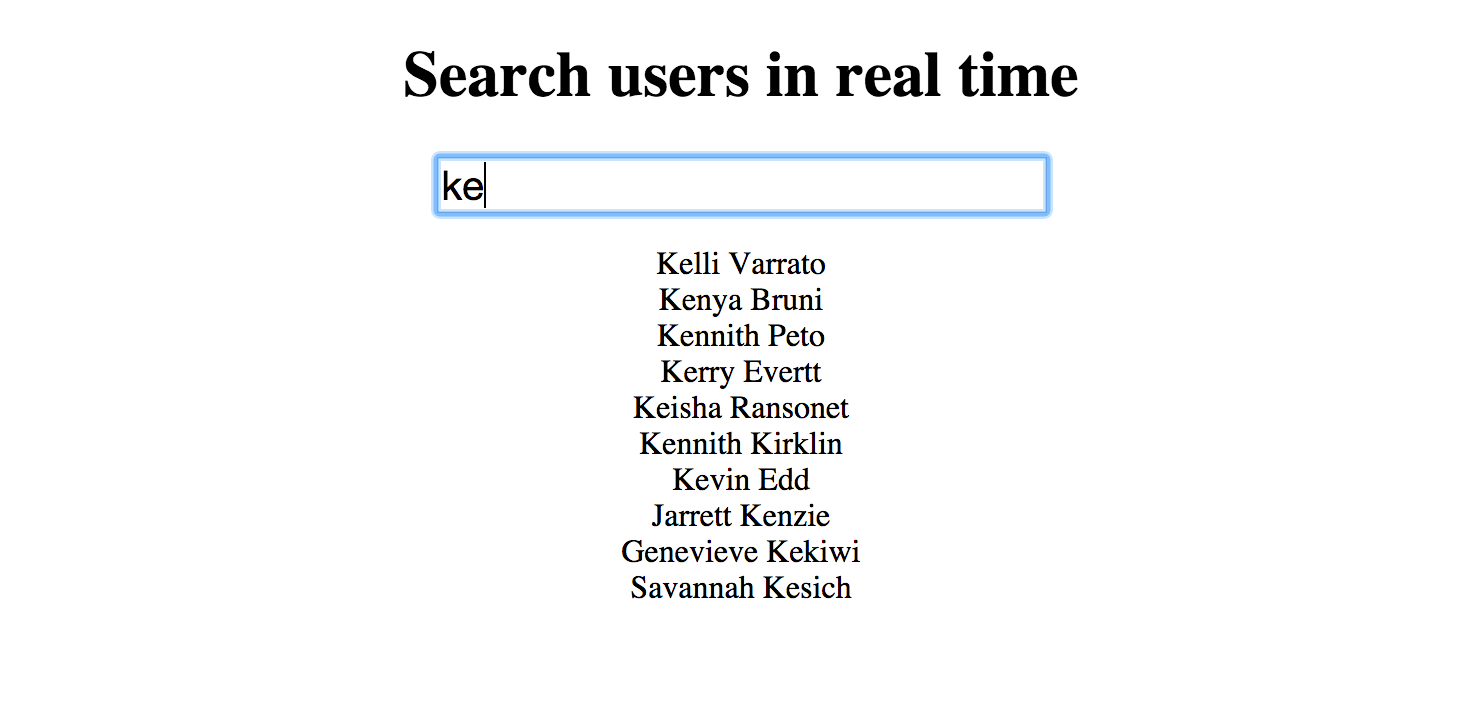
With this bit of code we have successfully hooked into Algolia’s real time search. If you test this out in your web browser and open up the developer tools, you will see response data coming back in your console as you type characters in the search box.
Show our search results
Now that we have the core code in place to talk to and query our data from Agolia, we need to show that data to the user. To do this we will update the searchCallback function to show the resulting names. Update the searchCallback function to the following.
1 2 3 4 5 6 7 8 9 10 11 12 13 | |
This is simple web code not specific to Algolia. We are using jQuery to add the names returned in the search to an unordered list. First we clear out the list and then add the name of the user from the result. Once you have this done, try it out. You should see very fast results being returned and shown.
Where to go from here
We have only scratched the surface of what is available from Algolia’s real time search. Some of the many things we have not touched on are Sorting, Filtering, Faceting, and Geo-Search. To learn more, check out these tutorials and explore their documentation.
Also, in case you run into any issue with this tutorial, here is the final code.
1 2 3 4 5 6 7 8 9 10 11 12 13 14 15 16 17 18 19 20 21 22 23 24 25 26 27 28 29 30 31 32 33 34 35 36 37 38 39 40 41 42 43 44 45 46 47 48 49 50 51 52 53 54 55 56 57 58 59 60 61 62 63 64 65 | |